Glare in a photo can be both a creative solution that adds charm to an image and an unwanted mistake that can hinder creativity. They can be deliberately captured or avoided so that the extra light does not distort the frame.
Table of Contents
Why remove highlights from the photo
In the process of a photo shoot, when a large amount of material is accumulated, it is difficult to notice unnecessary glare in each photo. That’s why most often this flaw is handled manually at the stage of retouching. What tasks does the photographer solve by removing glitter?
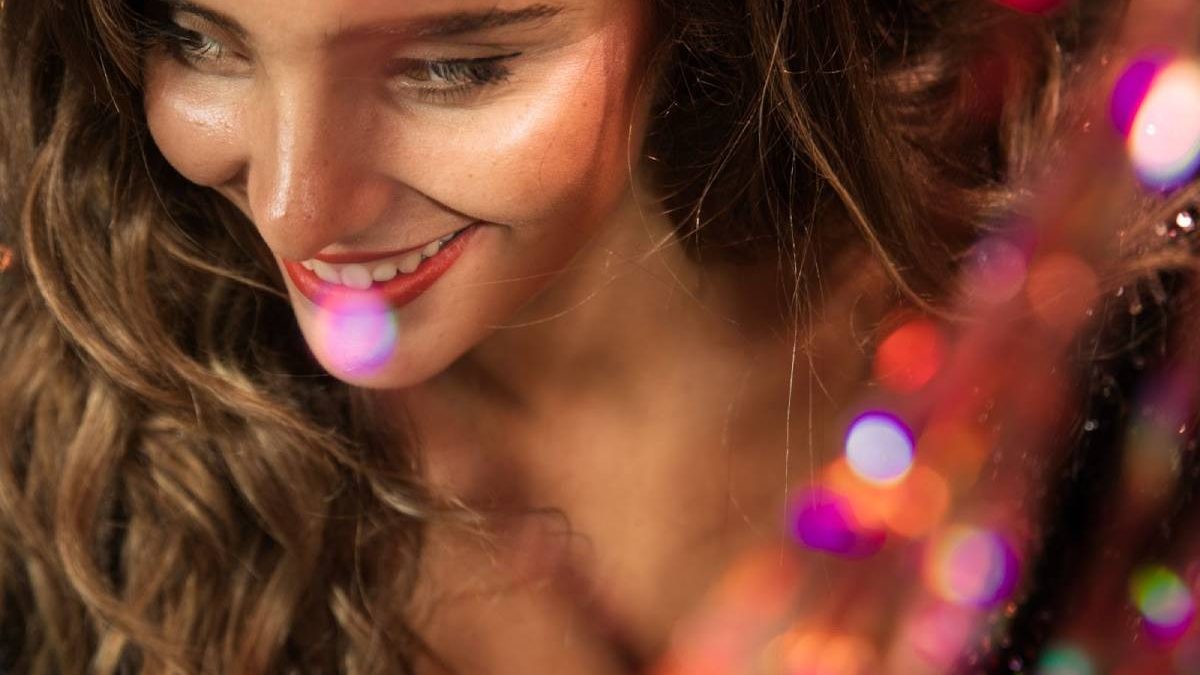
- Improvement of appearance. With excessive glare on the face, the skin seems stale and oily. Photographers remove glare from photo to make the model look more attractive.
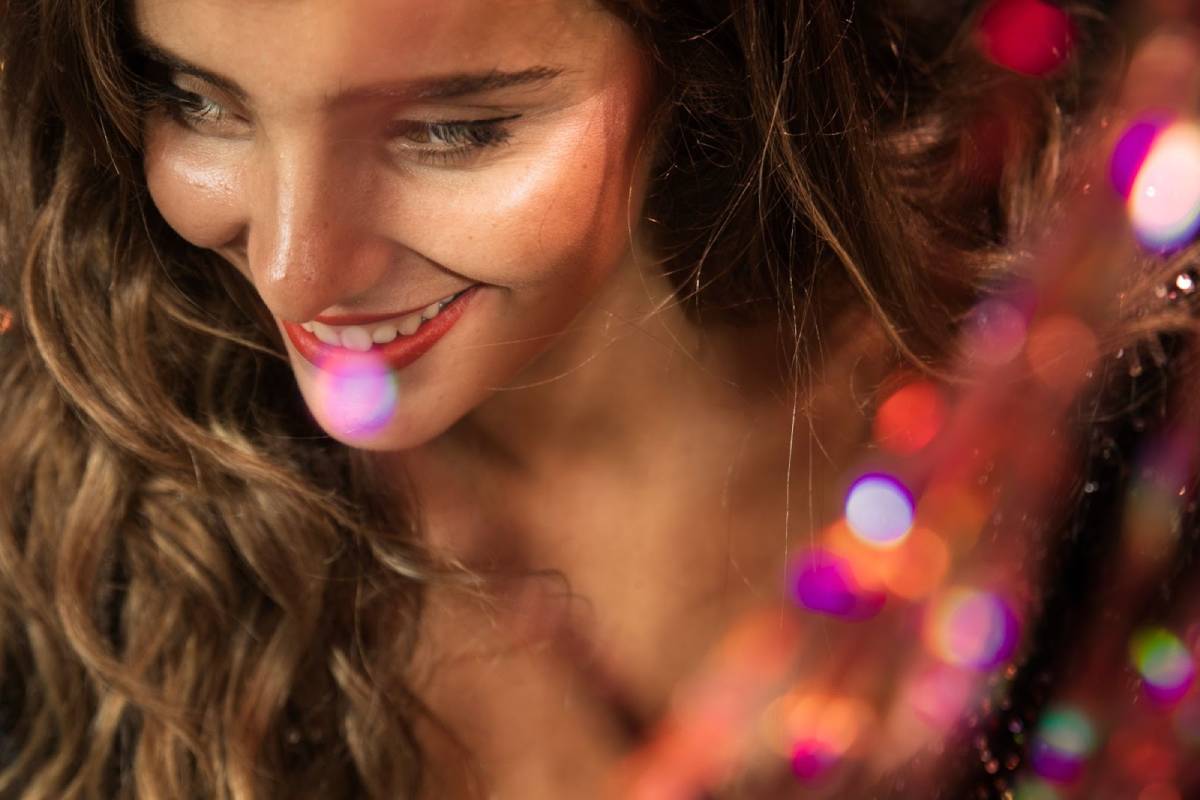
- Palette enhancement. Unnecessary glare can distort the light and colors in the frame, making the image less attractive and natural.
- Focusing on the subject. Glare can distract attention away from the main subject, whether it’s the model’s face or another element of the scene. Through the retouching process, the photographer creates a cleaner and more professional image with the right accents.
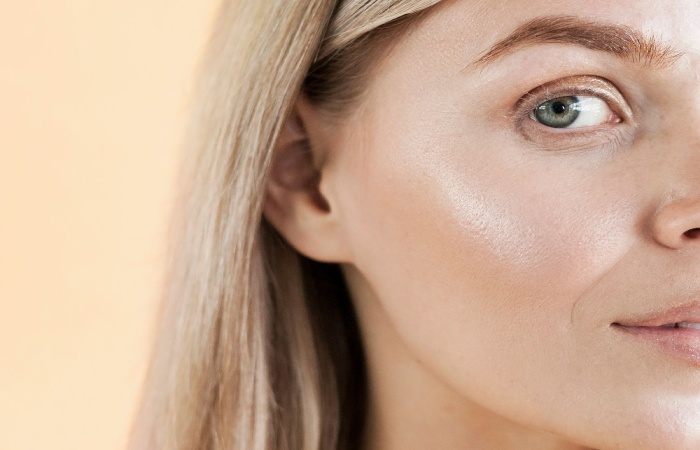
- Lighting Correction. Sometimes unnecessary glare can be caused by harsh lighting or improper use of flash. By removing them, you are correcting basic lighting errors.
Overall, by removing glare in the frame, the photographer achieves a more professional and higher-quality shot.
Is it possible to shoot without glare right away?
If you don’t want to do retouching, protect yourself from unwanted artifacts in the photo at the shooting stage. You can take glare-free photos by following a few simple guidelines.
- Choose the right lighting. Avoid bright direct light sources, including sunlight. Preferably use soft studio lighting or natural light, such as when photographing outdoors during cloudy weather or golden hour.
- Work with the angle of the shot. Try changing the position of the camera or subject so that light falling on a surface doesn’t produce harsh reflections.
- Use diffusers or light diffusers. They help to soften artificial light, to achieve an even fill without light spots.
- Avoid reflective surfaces. Glass, mirrored, or metallic surfaces can give unwanted glare. When choosing props or backgrounds for your shoot, favor matte surfaces that are less prone to reflecting light.
One last tip: use RAW format. This way you’ll have more opportunities to correct exposure and white balance in post-processing, which will help reduce glare or correct it if it does occur.
How can I remove glare from an image?
A photographer can remove unwanted glare from an image using a variety of post-processing tools and techniques. Here are a few ways in which this can be done.
- Using retouching tools. Cloning and filling can remove glare from a photo. Using these features, a retoucher can mask unwanted reflections by replacing them with surrounding pixels in the image.
- Brightness and contrast adjustments. Sometimes, to make shiny areas stop catching the eye, it’s enough to adjust the basic settings using sliders.
- Using layer masks. The photographer can select specific areas of the image for editing. This allows for more precise control over the glare removal process, applying retouching effects only to the areas that need it.
- Using filters and effects. Some photo editing programs can remove unwanted glare from images using automatic presets.
- Working with curves. This feature in Photoshop and similar programs allows you to work more flexibly with the brightness and contrast of the image.
- Removing glare with the help of automatic functionality. Some editing programs offer specialized tools for removing glare and reflections, similar in principle to “Stain Removal” or “Red Eye Removal”.
Each photographer chooses the editing methods that best suit the situation and their image processing style.